Items: CV-TL-80S-EB

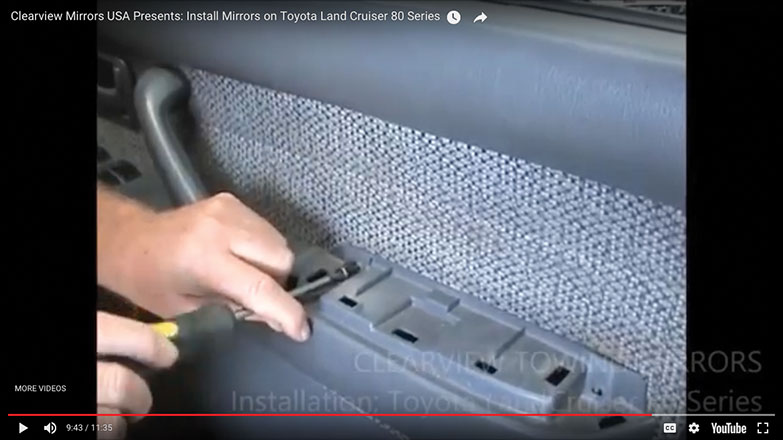
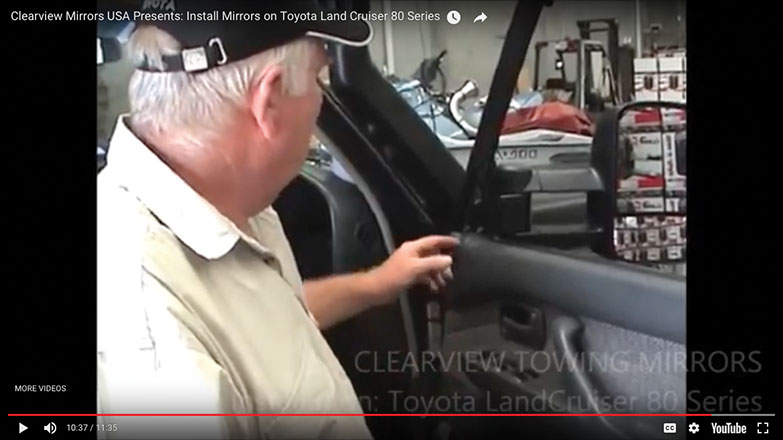
1. First the door panel must be removed to access the side mirror connector: Using a pocket screwdriver, remove the trim on the door panel arm rest.

#1
2. Get Your Large Straight Blade Screwdriver.
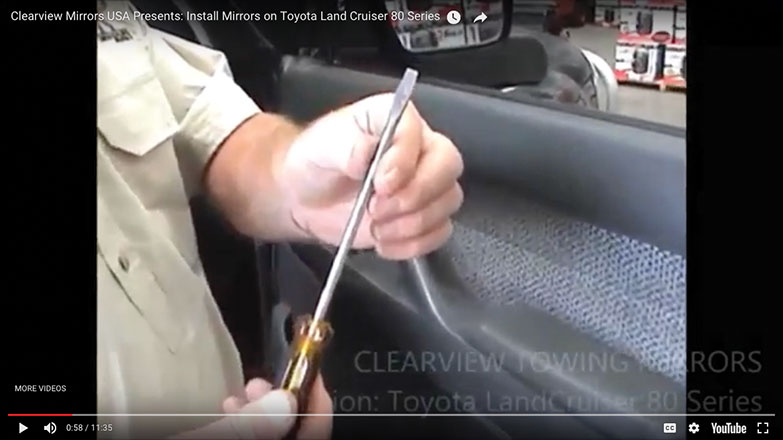
#2
3. Pry off the cover of the door arm rest from the bottom as shown.
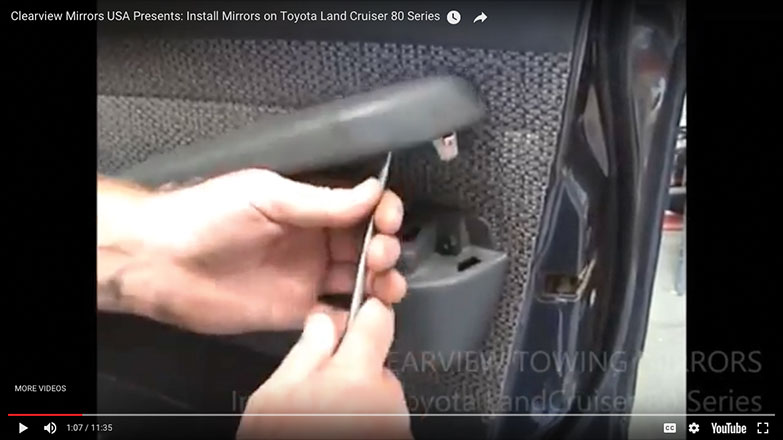
#3
4. 2 Screws are revealed.
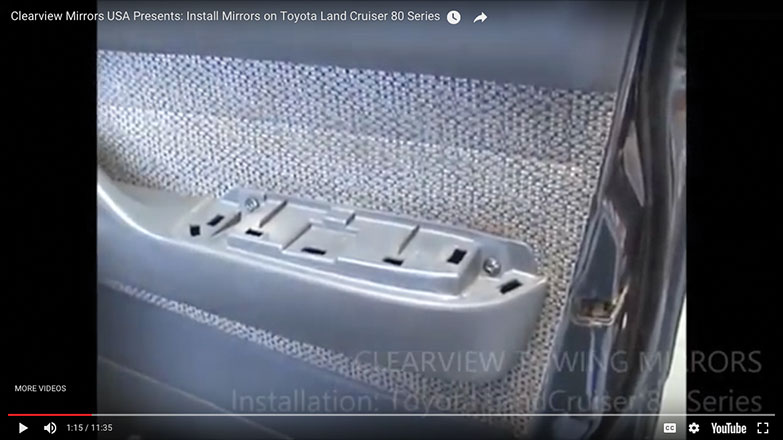
#4
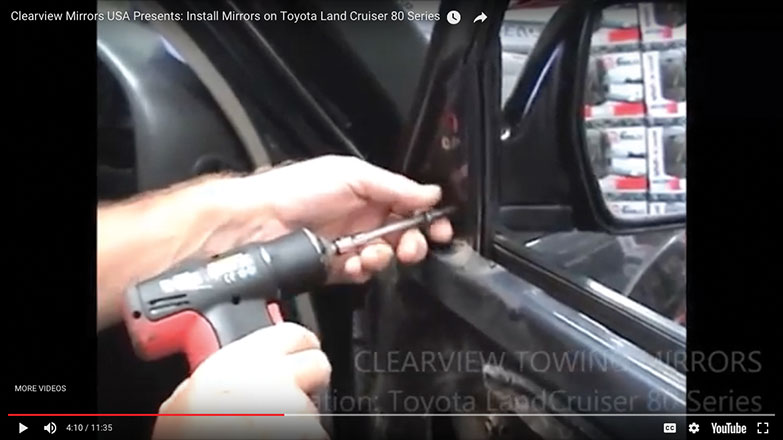
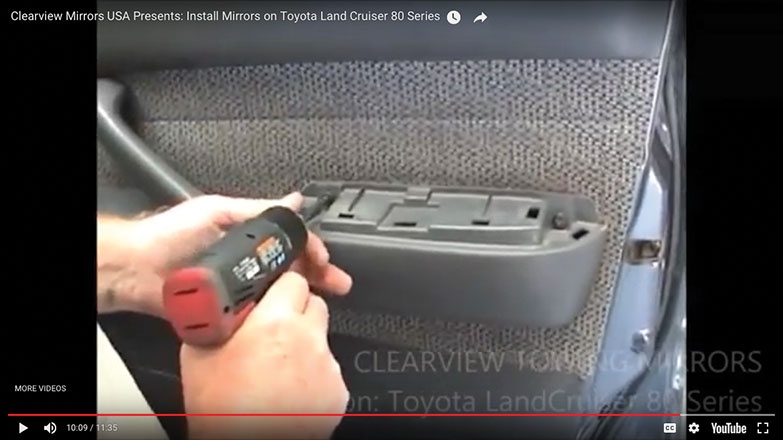
5. Remove screws with #2 Philips head screw driver.
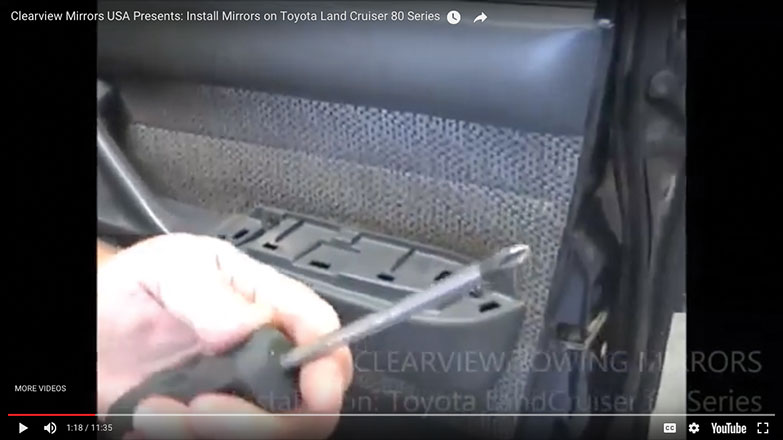
#5
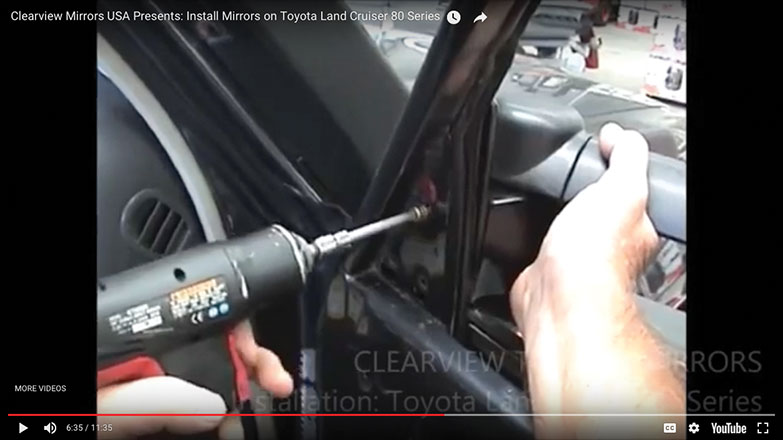
6. Or use a power tool.
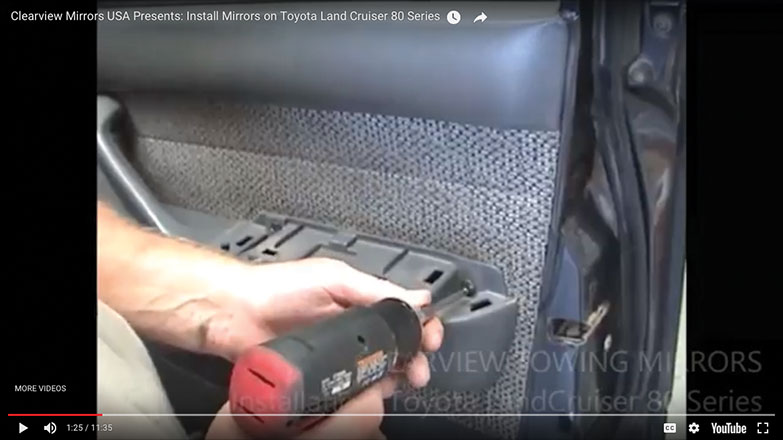
#6
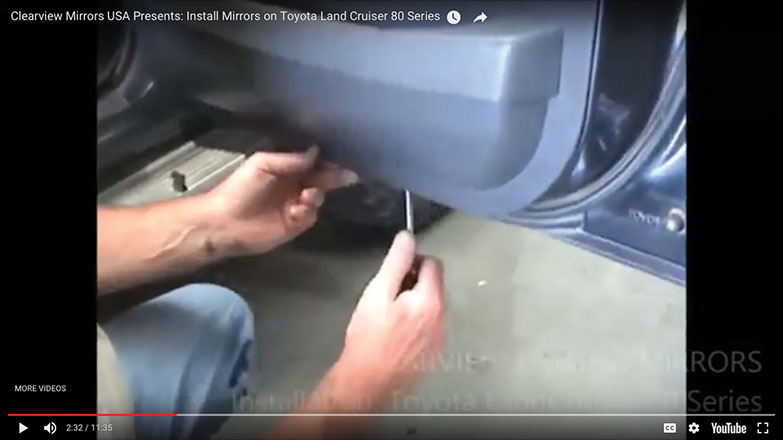
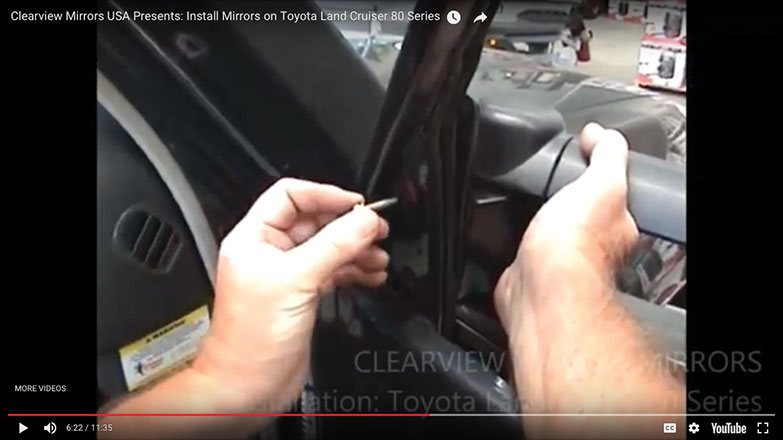
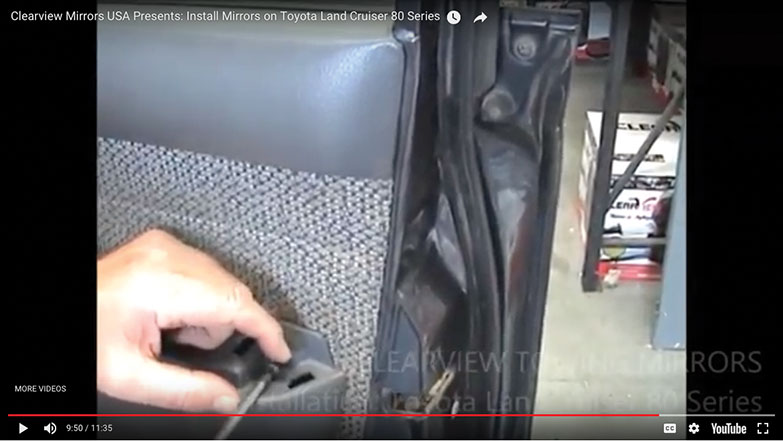
7. Remove angled screw from behind door handle arm rest.
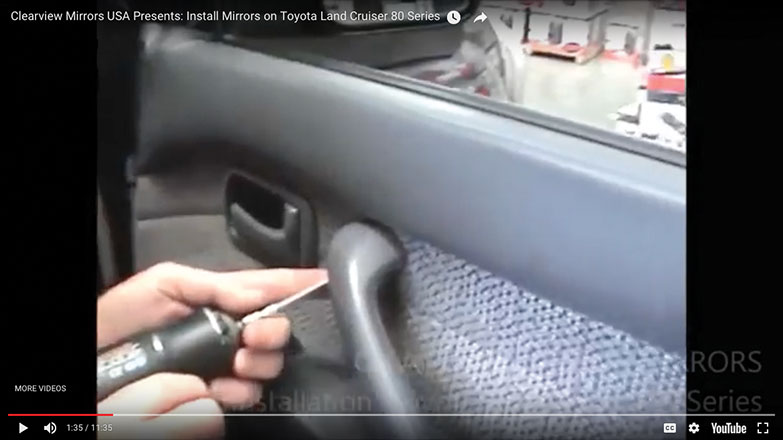
#7
8. You have to feel for the angled screw from behind door handle arm rest to remove it.
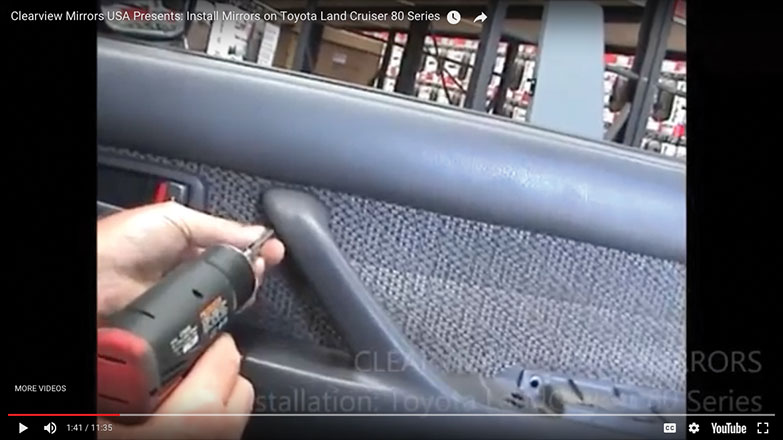
#8
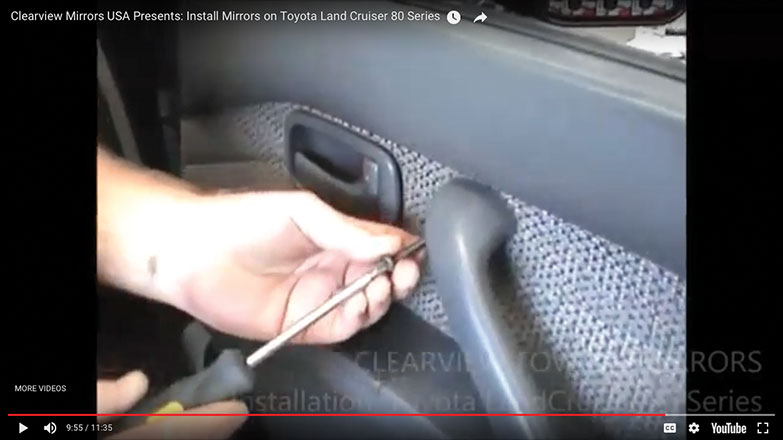
9. Unscrew the tiny screw from the door handle trim.
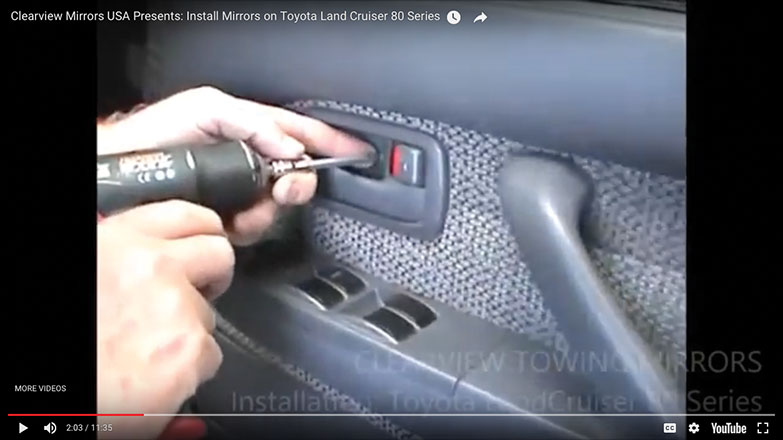
#9
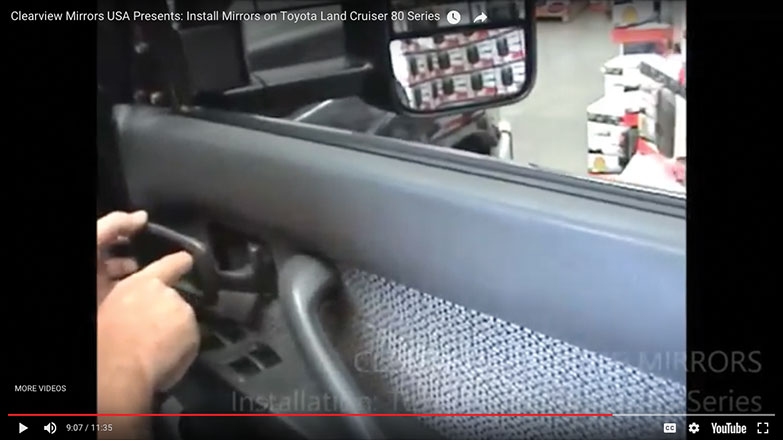
10. Pry off door handle trim. Lift handle to remove.
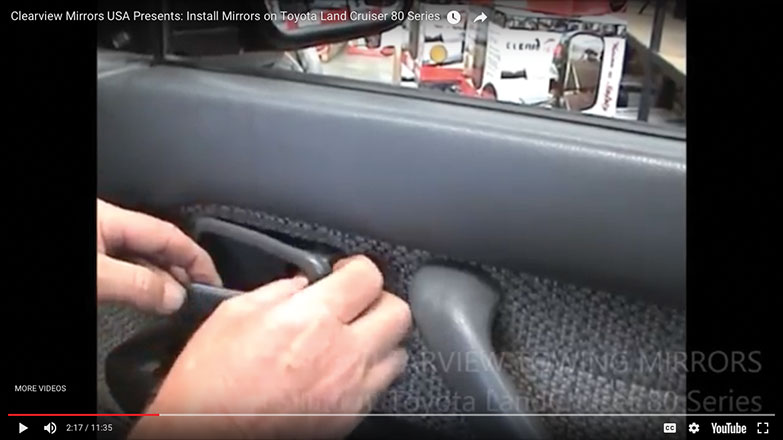
#10
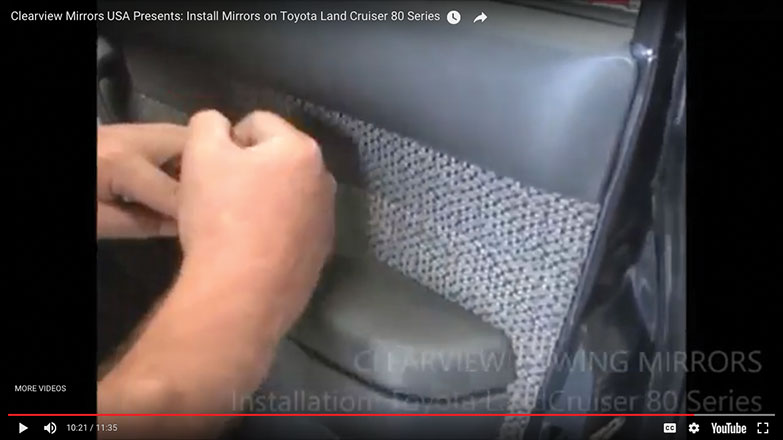
11. Using large flat head screwdriver, pry off door panel at bottom.
#11
12. Then pry off door panel at side.
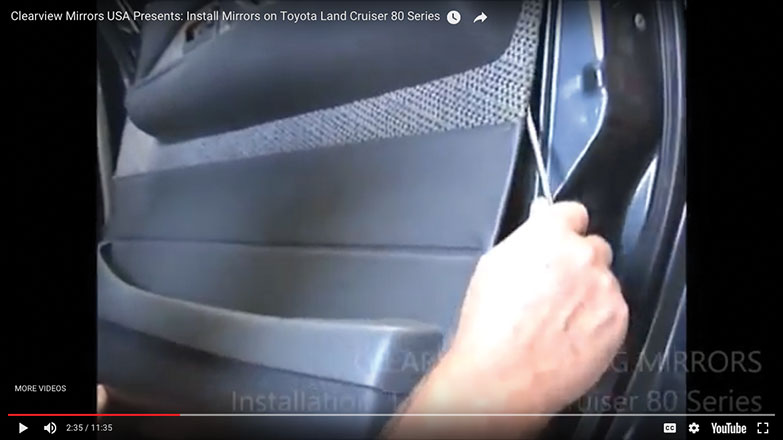
#12
13. Pop off the door panel.
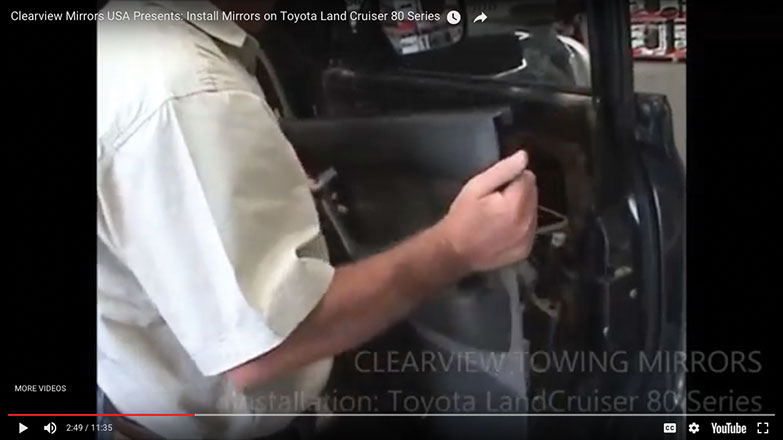
#13
14. Leave everything connected.
#14
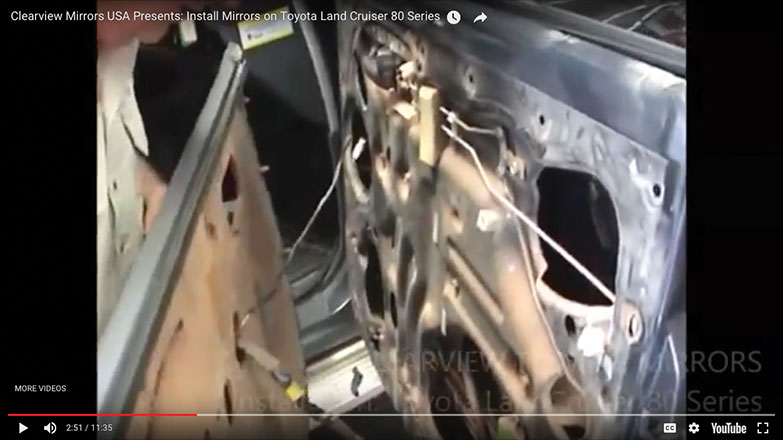
15. Use a hook to hold the door up.
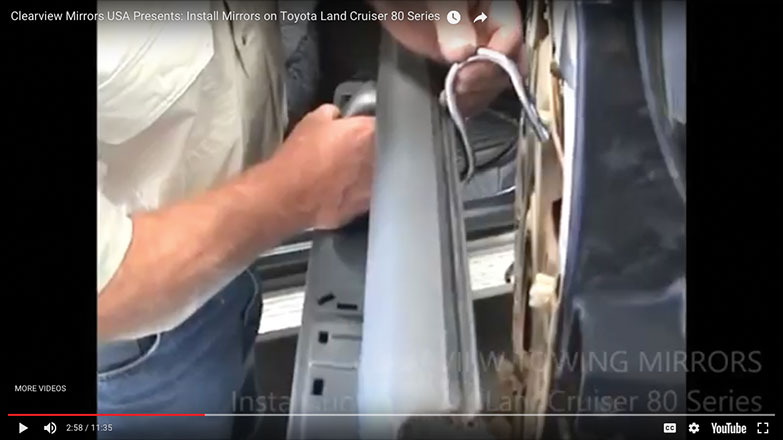
#15
16. Locate the mirror connector.

#16
17. Disconnect the wiring.
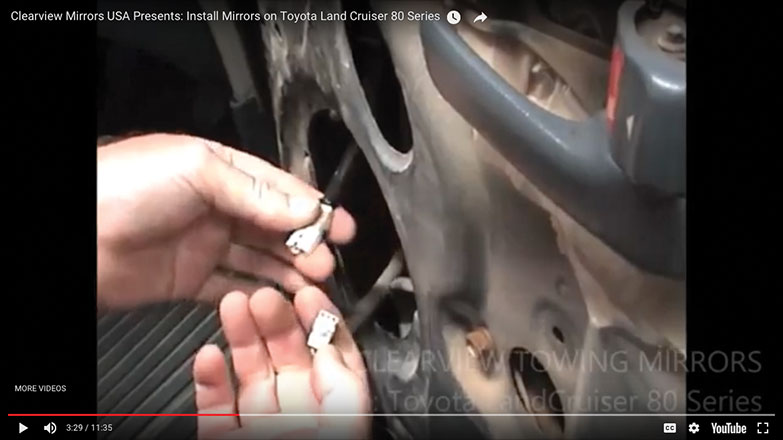
#17
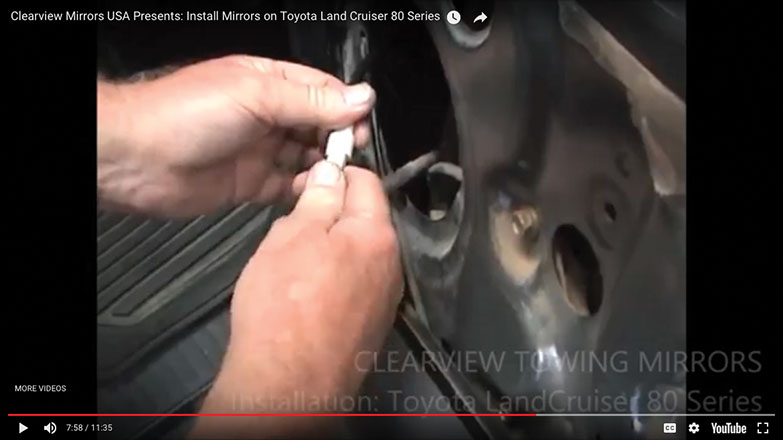
18. Remove the connector holding the wire to door frame.
#18
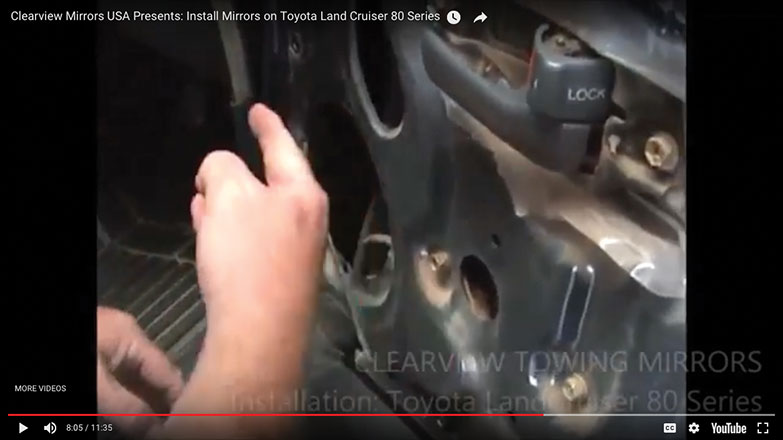
19. Push the connector through the hole. Make sure the wiring is now loose.
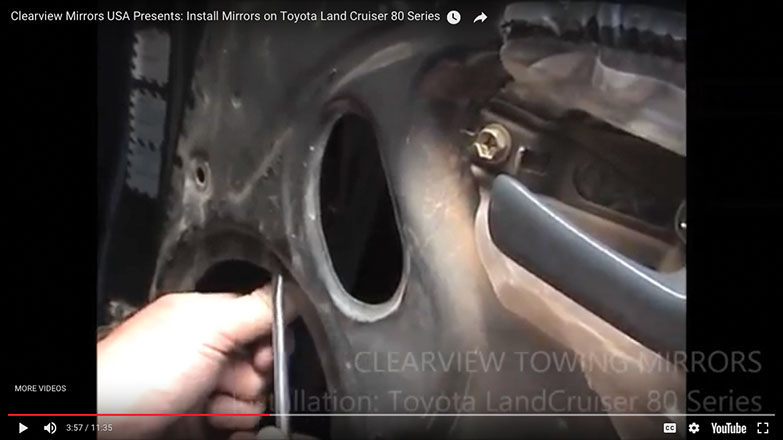
#19
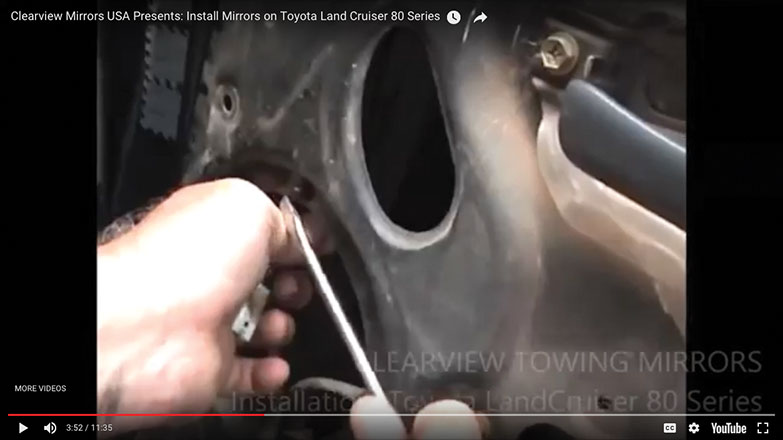
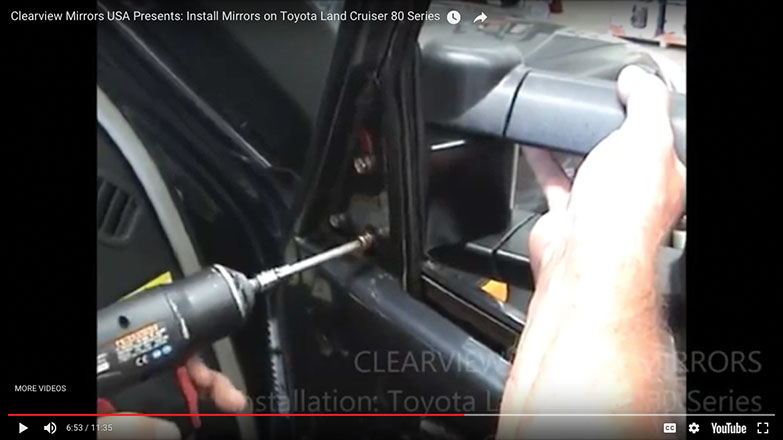
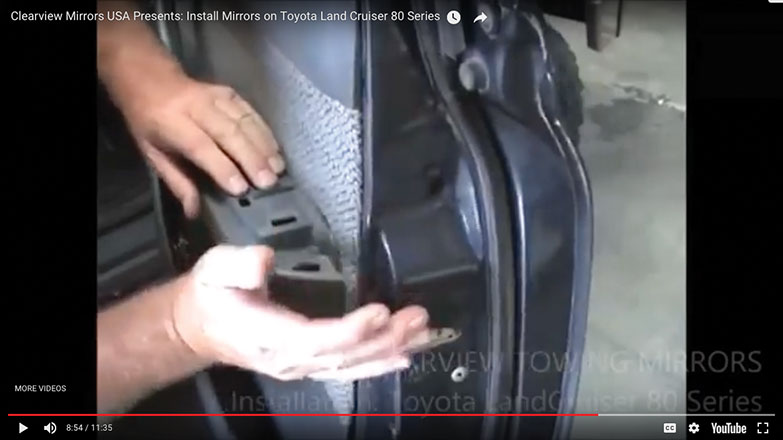
20. Unscrew the bolts holding on the side mirror, starting with the bottom two bolts.
#20
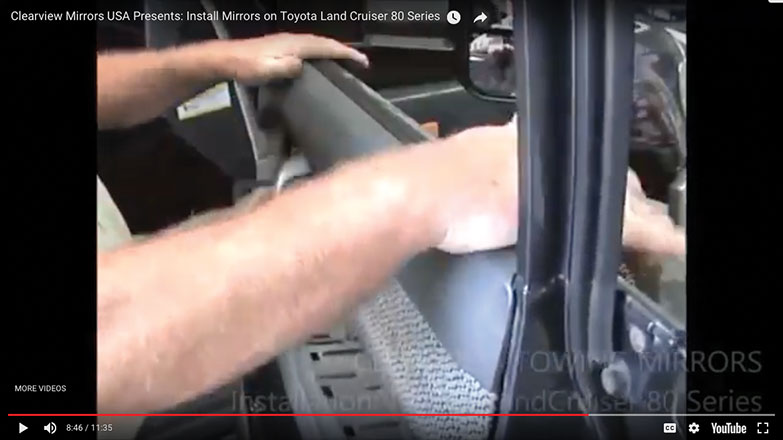
21. Now, making sure to support the mirror, carefully unscrew and remove the top bolt.

#21
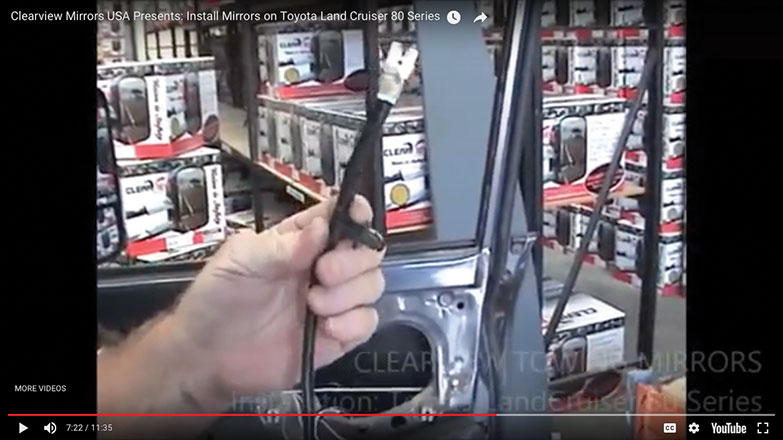
22. The original side mirror is free of the door panel, snaking out connector wiring and remove.
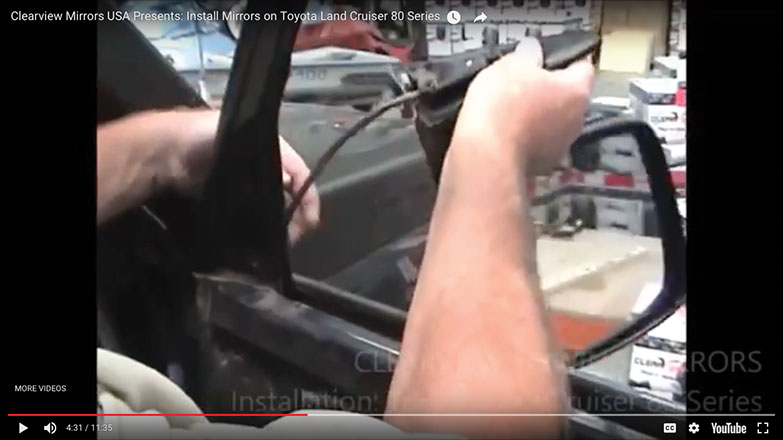
#22
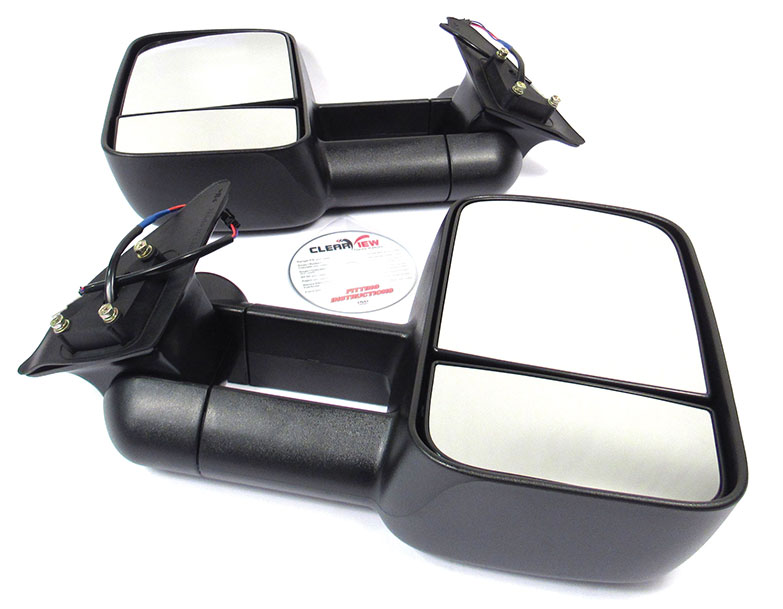
23. Install your new Clearview Mirrors USA towing mirrors.
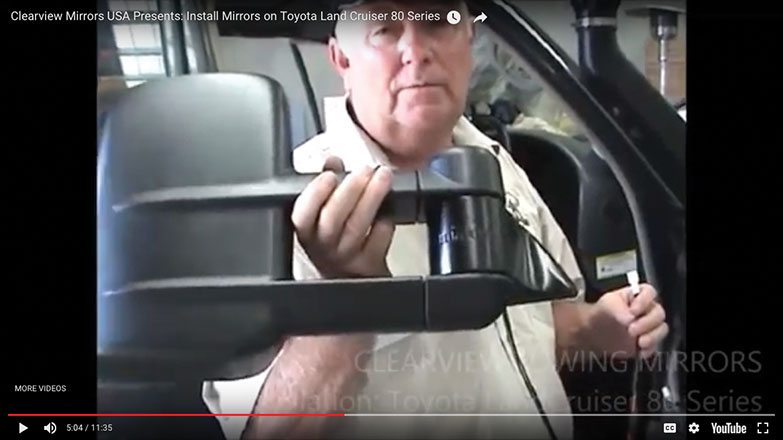
#23
24. Re-insert the electrical connector.

#24
25. Re-insert the electrical connector, feeding the wire down through the door panel.
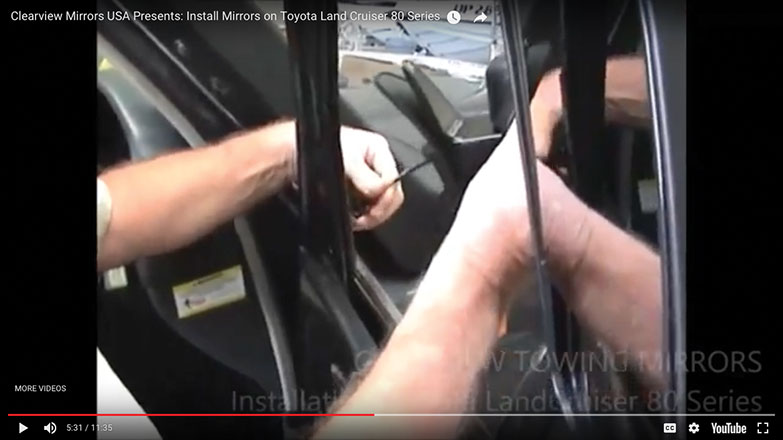
#25
26. Follow the new mirror's electrical connector wiring straight down and away from the window mechanisms.
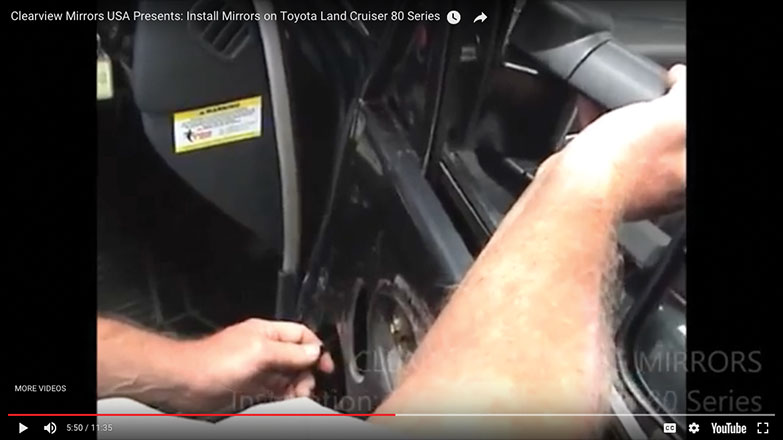
#26
27. Insert the mirror.
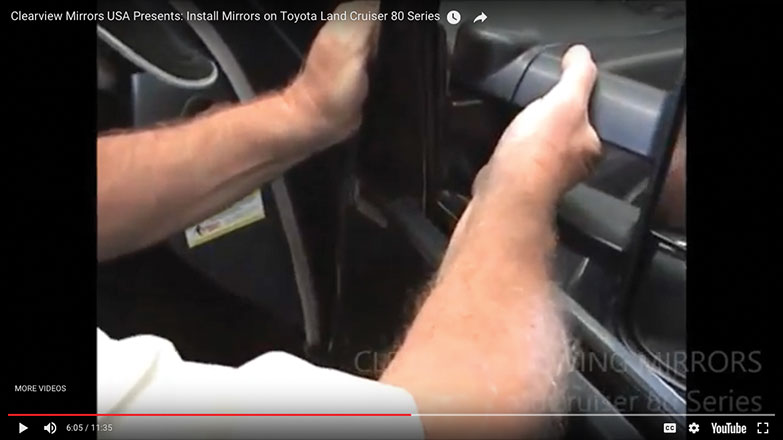
#27
28. Use the 10mm hex head bolts to attach the mirror.

#28
29. Re-insert the top screw first.
#29
30. Snug in with a power tool.
#30
31. Secure the bottom two bolts.
#31
32. Add the wire retainer from the old mirror and attach as shown with tape.
#32
33. Plug in the mirror connector.
#33
34. Tuck connector in and away from window glass and electrics.
#34
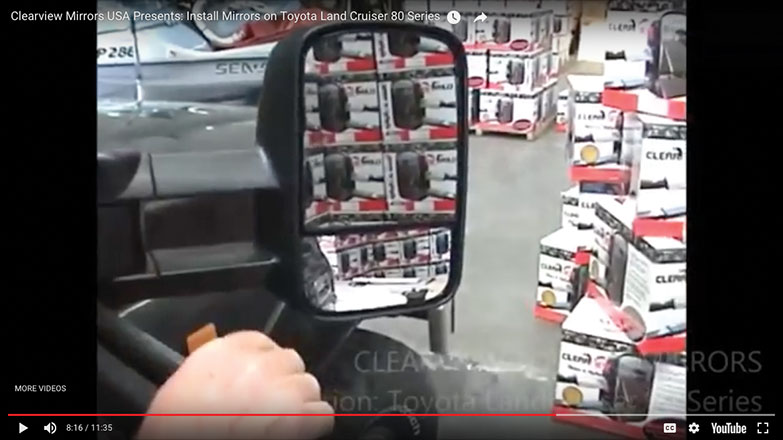
35. The mirror is now installed. Test the adjustable mirror functions.
#35
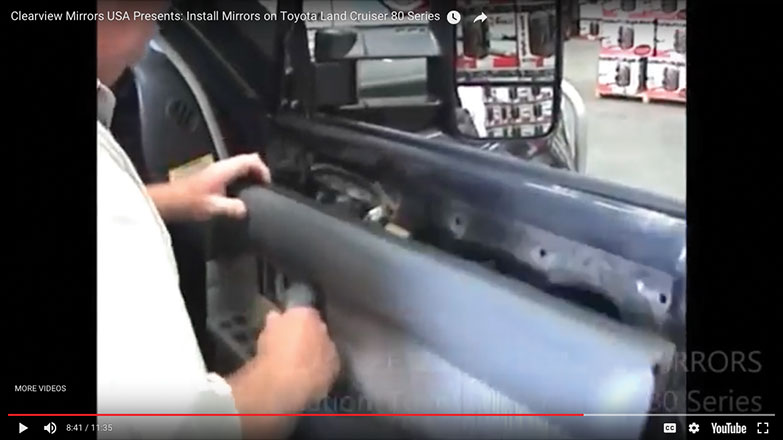
36. Time to reassemble the door panel.
#36
37. Hang and secure door panel.
#37
38. Replace door panel lining up the correct clips and give it a good tap.
#38
39. Replace door handle trim.
#39
40. Re-insert screw to secure trim.

#40
41. Re-insert screws behind door handle.
#41
42. Re-insert screws behind door handle.
#42
43. Re-insert screw behind door handle trim.
#43
44. Snug the screws in.
#44
45. Pop on door handle cover.
#45
46. Replace plastic mirror trim cover. Repeat process on opposite side. Done!
#46
Atlantic British Ltd.
M-F, 8am-6pm Eastern
East Coast - Map
6 Enterprise Avenue
Clifton Park, NY 12065 - USA
ClearviewMirrorsUSA.com Is a Division of Atlantic British Ltd.
